
EGPNL
Monthly subscription
Get full access to the most powerful server management panel. Control your Nginx server, manage SSL certificates, databases, FTP accounts, and more.
All prices include 14% VAT. Prices are shown in your local currency at the day's rate.

Start Your Subscription
What's Included:
- Full access to EGPNL Panel
- Unlimited domains & sites
- Automatic SSL certificates
- Database management
- FTP account management
- Email support
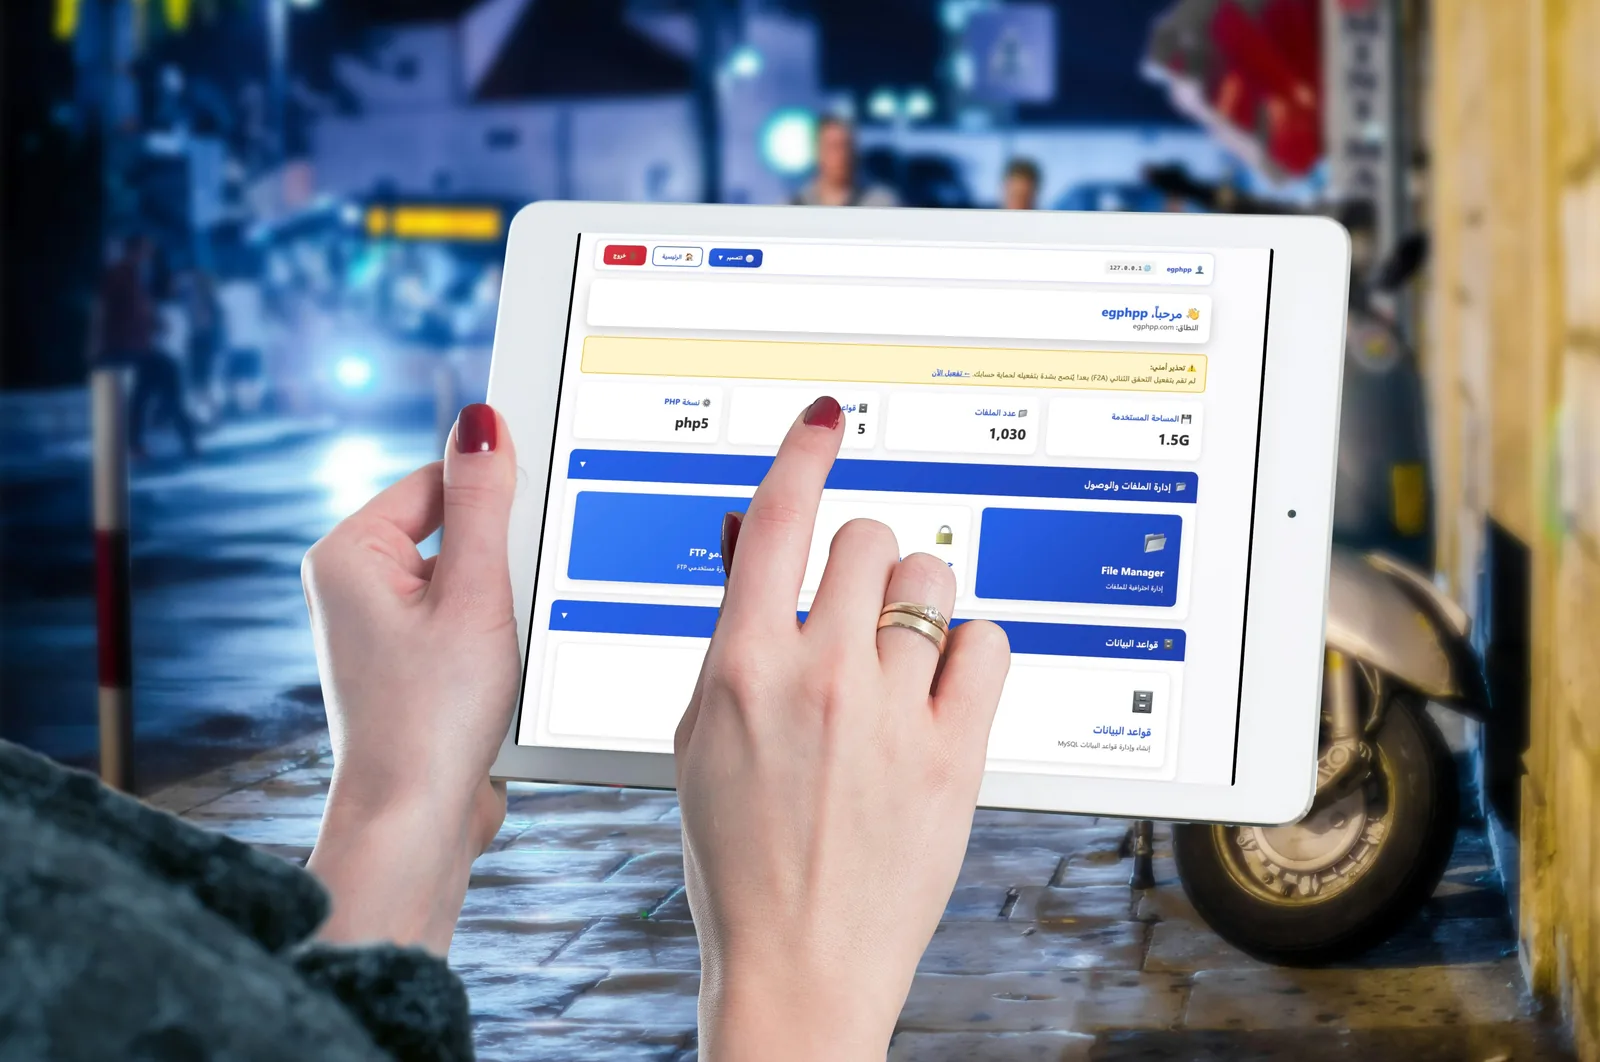
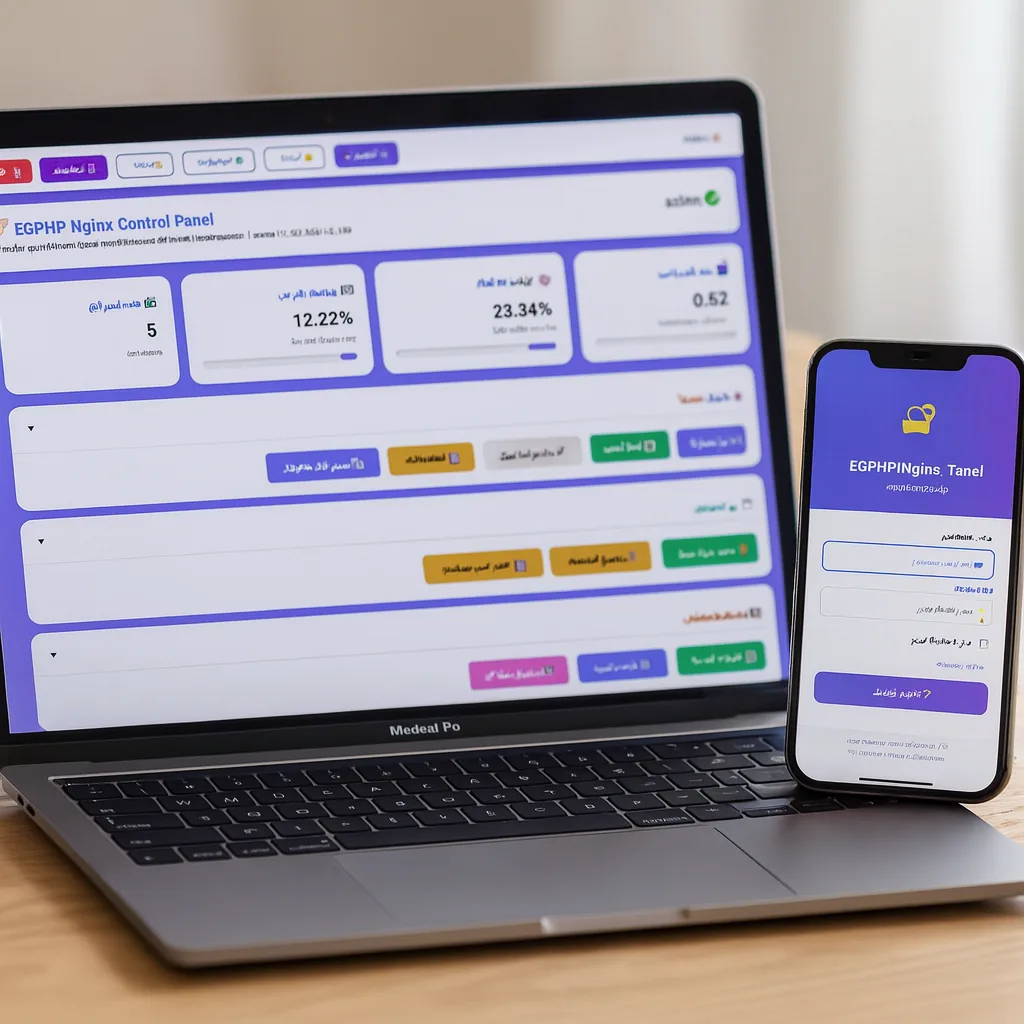
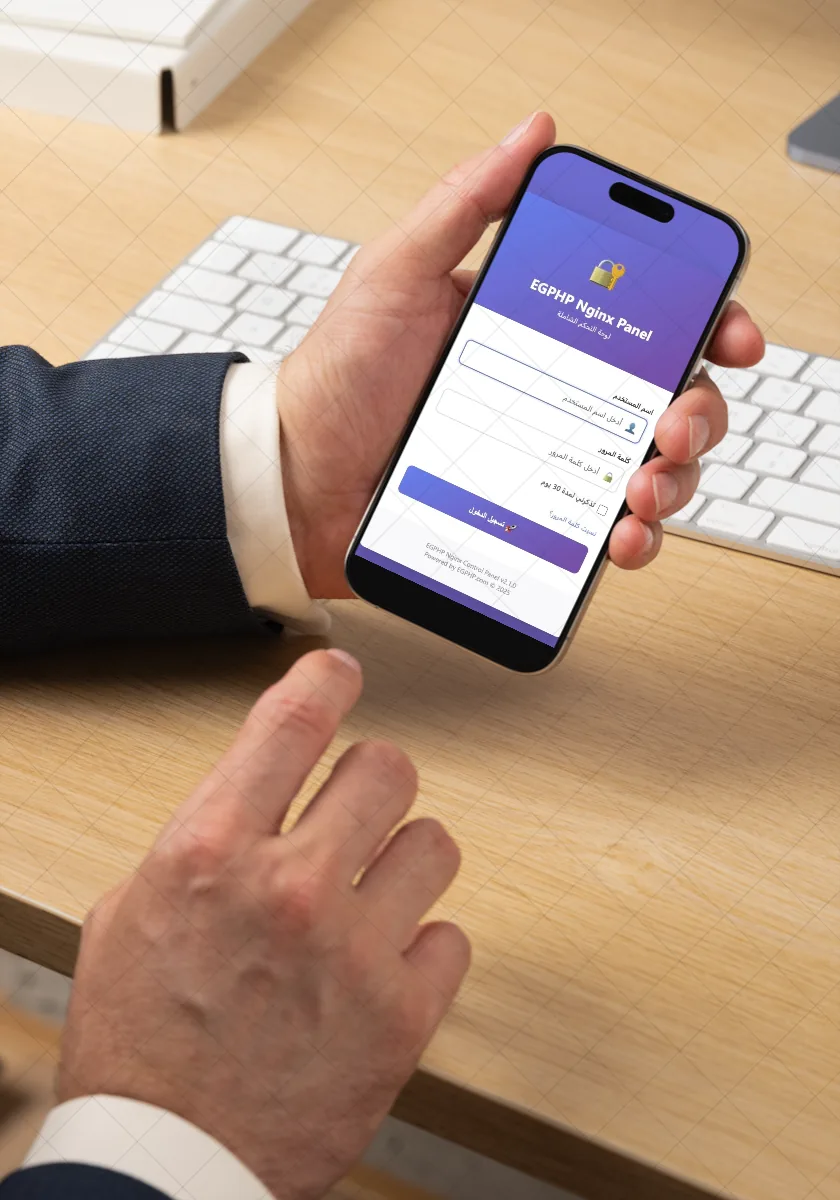
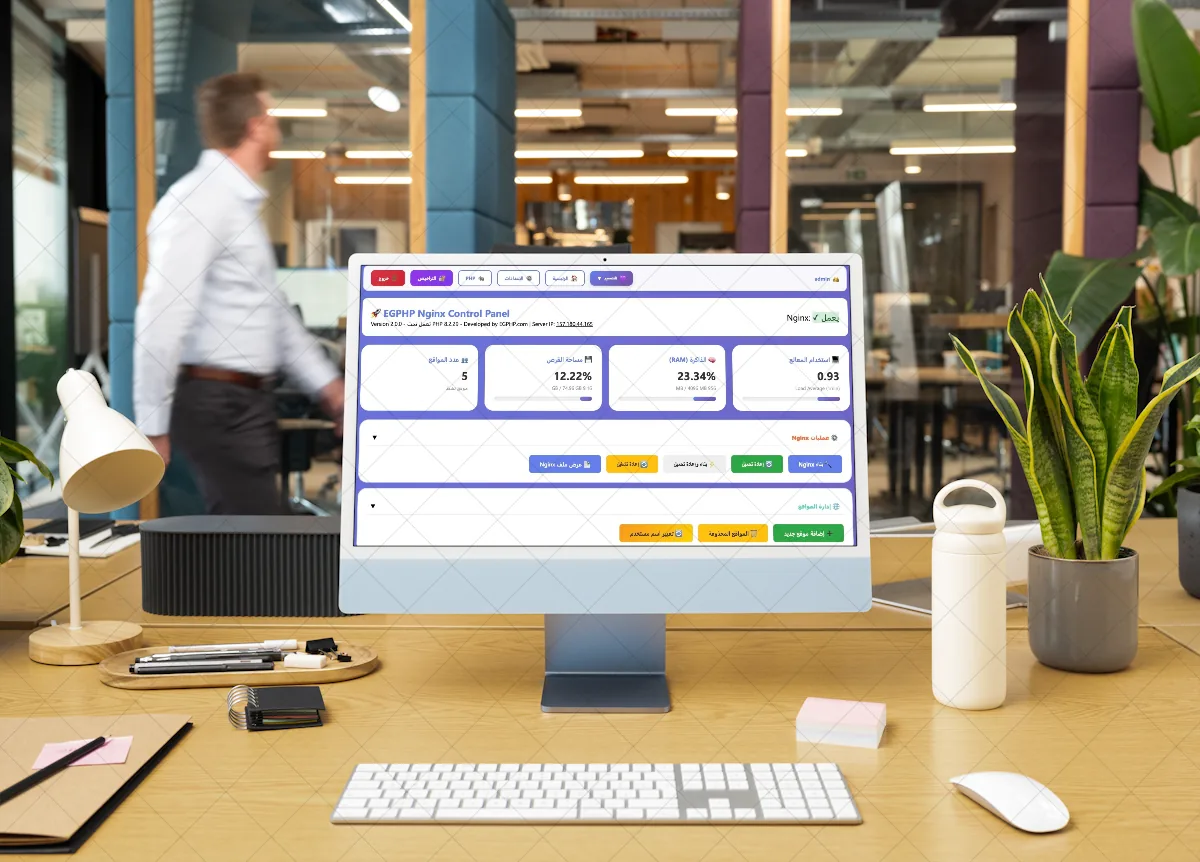
See EGPNL in Action
Beautiful, intuitive interface designed for developers and system administrators
Everything the panel handles, by area
Six areas, one login. Each group lists what you do there without opening a terminal, as described on the EGPNL page.
Sites & PHP
- Nginx virtual hosts, with a reload button
- PHP version chosen per site
- Per-site PHP pool with its own limits
- One-click WordPress, Laravel and Node.js
Domains & DNS
- Domains and subdomains
- DNS records in the same place
- Document root and PHP socket shown for each site
SSL certificates
- HTTP-01 and DNS-01 verification
- Wildcard certificates
- OCSP stapling
Databases
- MySQL and MariaDB
- Users and grants through a wizard
- One-click phpMyAdmin sign-in
- InnoDB table optimisation
Files, FTP & mail
- FTP accounts
- Web file manager: upload, edit, extract
- Email accounts with webmail and forwarding
Backups, firewall & monitoring
- Nightly database dumps
- Backup management
- Firewall configuration
- Live server resources and bandwidth
- Alerts and notifications
From order to a running site, in five steps
The order matters: DNS first, then the site, then the certificate, because the usual HTTP-01 check needs the name to reach the server already.
- 01
Order in the portal
The subscribe button opens this plan's order in the customer portal. The terms are accepted, your account is made and the card is charged there, once.
- 02
Point your domain at the server
A site can only answer once its DNS record leads to the server. Domains, subdomains and their DNS records are managed in the same panel.
- 03
Add the site
Create the Nginx virtual host and choose the PHP version for that site. The panel shows the document root and the PHP socket, and reloads Nginx for you.
- 04
Get the certificate
Request the certificate and pick HTTP-01 or DNS-01. Installation and renewal are automatic. HTTP-01 needs port 80 to reach the server, and wildcard names need DNS-01.
- 05
Renew monthly, or stop
The subscription renews every month until you cancel. Email us before the next billing date to cancel; payments are non-refundable.